

Keeping in touch with your attendees before and after your event(s) is important. As an Eventmaster Organiser, you have access to the Marketing Portal feature. This allows you to schedule and send email alerts to your attendees and other contact lists.
Newsletters
The default newsletter option allows you to build a promotional newsletter
and send it to a contact list, excel file of email addresses or event participants. Only persons who have consented to being contacted by you will receive these emails.

Critical Information
As the name suggests, Critical Information emails should not be used for
promotional content and should contain only required information for taking part in an event. These newsletters can only be sent to event participants via event, date and/or ticket type selection. For example, if you were running a webinar event, you could sent the webinar link via the Critical Information function.

How to Create a Newsletter
- Log into your Eventmaster account HERE
- Click on Welcome > Manage Events. Go to the Marketing Portal section in the top menu bar.

3. To create a new email, go to Newsletters/Critical Information and click
Add. To save time, you can also duplicate any previous email templates
and edit this instead.
4. To add an image, click and drag on the image icon to put it into the desired place on the template.
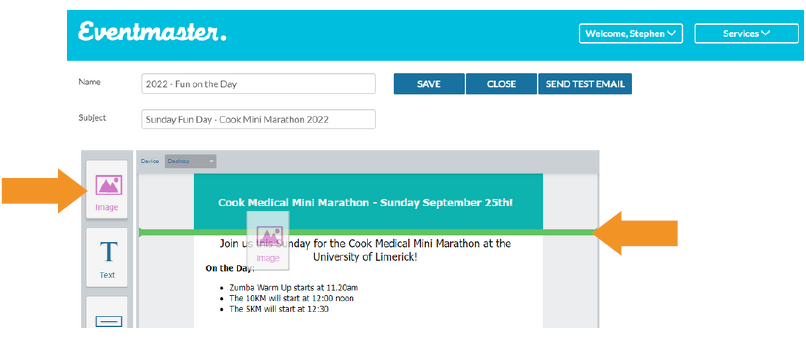
5. Double click on the image space to select a file. Click on the image you want to appear on the right menu option.

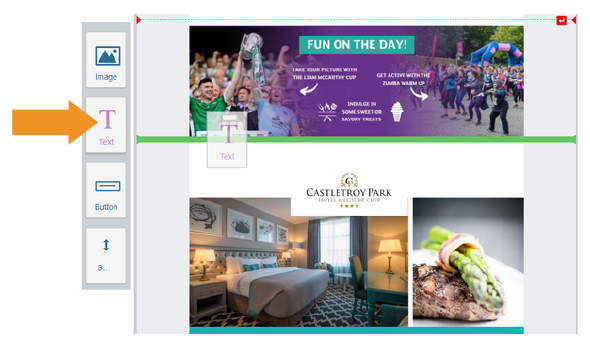
6. Similarly, to add text, click and drag on the Text Graphic on the left side menu.
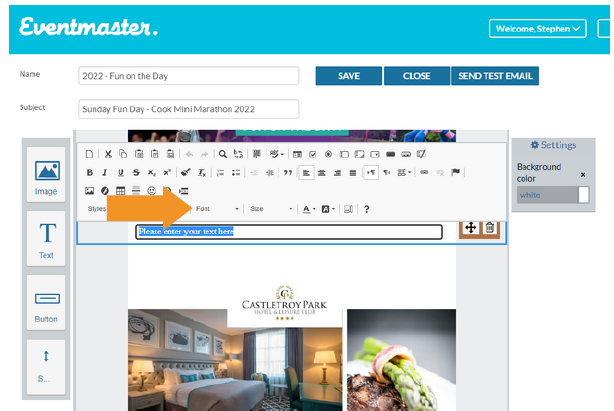
7. You can copy and paste your text in from a word document or type it out
fully in the editor. To format the text, highlight as you would in Microsoft
word and select your font type, size, colour, make it bold etc.
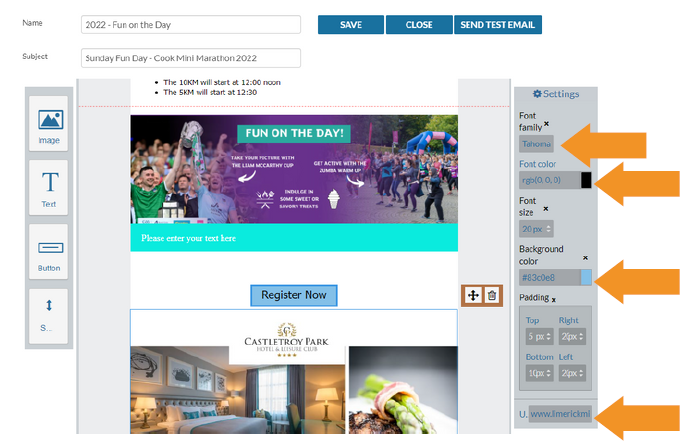
8. To add a colour background to your text, click on the outer text box
to define the area that should be coloured, click on the ‘Background
colour Settings Tab’ then select your desired colour from the pop up
on screen.

9. To hyperlink any text within your email, highlight the text you wish to
link, click on the link button (see yellow arrow below).

10. Copy and paste the desired webpage in the URL box in the pop up on
screen. For example www.limerickminimarathon.com. In the Target tab,
you can configure this to open a new webpage for the person when they
click on it. To finalise, click okay. To edit, repeat the previous steps.

11. To add a button, click and drag on the Button Graphic on the left side menu.

12. Click on the button to set the font, colour and destination URL in the right
side menu. Highlight the text to type in your call to action, for example
‘Register Now’
13. You can add space between your different elements (text, images, buttons
etc) by clicking and dragging spacers between the desired elements.

14. You can name your email template and set the Subject. The Subject is
the text that will appear for the recipient in the Subject Line of the email. The Sender name is what will appear to the recipient for example ABC Events <newsletters@eventmaster.ie>
Click Save to save this email as a draft.
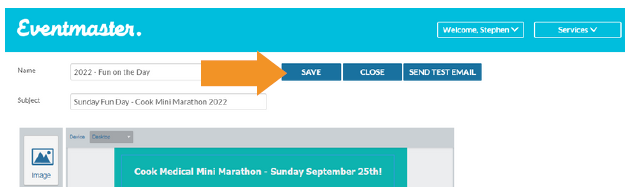
15. You can send a test email to preview how everything looks. Click on send
test email, enter in the desired email address and click on send test email.

16. Once saved, your email will appear in the newsletter section. From here you can edit, duplicate and run/schedule the emails.

17. You can choose to send this to an existing contact list, your attendees or
an uploaded excel sheet with a header called ’emails’. Your attendees
can be selected by event level, date level and ticket level.
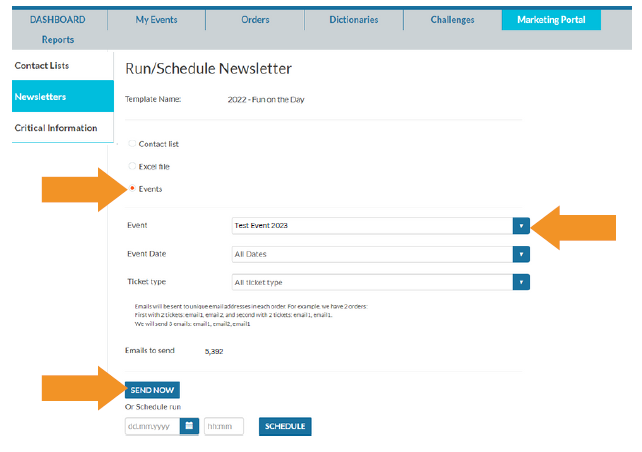
18. The total number of emails will appear, then you choose to send now or send at a later date by picking a date and time and clicking on schedule.
19. For Critical Information emails, these can only be sent to ticket holders and do not have an excel sheet upload or contact list option.